How to use webhooks to send emails
When a task is completed - send a webhook to any middleware or similar platform and then using that as an event or “signal” - shoot off an email. We will use Zapier here - but middleware is a commodity now and you can use any system you like - such as Make.com, Microsoft Power Automate, etc.
Step 1: Get the Webhook URL
First, select the “Webhook” trigger in Zapier and copy the webhook URL provided.
Step 2: Paste the Webhook and Send a Sample
Paste the webhook into your Tallyfy step and send a sample webhook to Zapier. This helps to ensure the integration is working correctly.
Step 3: Pull in the Sample Webhook
After completing the sample step in Tallyfy, a sample “Hook” will appear in Zapier. Simply click it to sync your step to Zapier.

Step 4: Add an Email Action to Your Zap
If your email system is supported by Zapier, you can send an email directly from Zapier. Alternatively, Zapier has its own built-in email relay system.
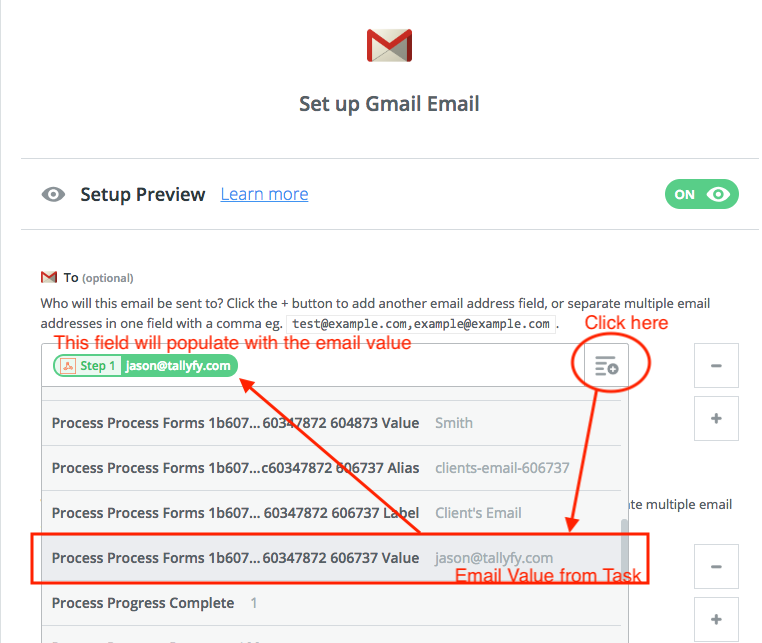
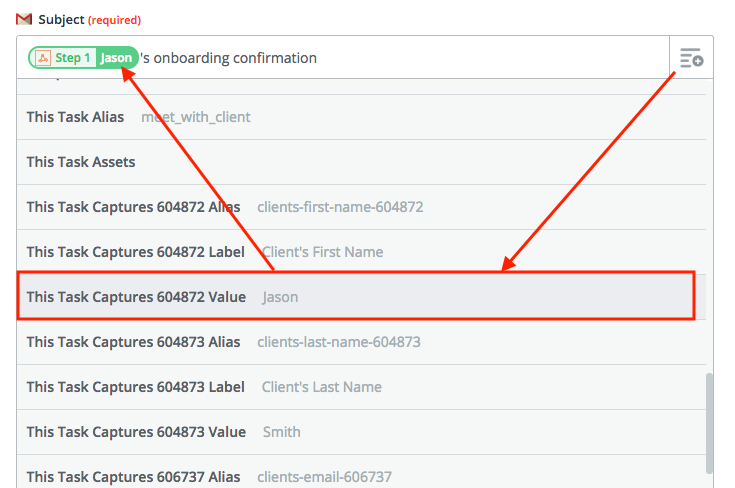
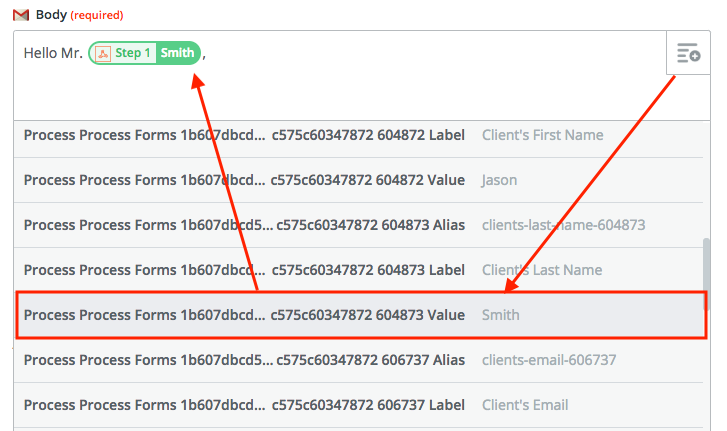
Step 5: Customize Your Email
Use the information passed from Tallyfy to customize your email. You can set custom email address, subject, and body using the fields provided.
That’s it! Every time you complete a step in Tallyfy, a webhook will be sent to Zapier and a custom email will be sent out. It’s that simple!