Tutorial: Launch a process
In order to launch our first process, you need to create a template . Once we have that. we can proceed to launch our first process.
- First, go to the “Templates” section via the left navigation. You will see a “Launch” button right there next to the template. You can also click on the “pencil” icon to get to the template editor.
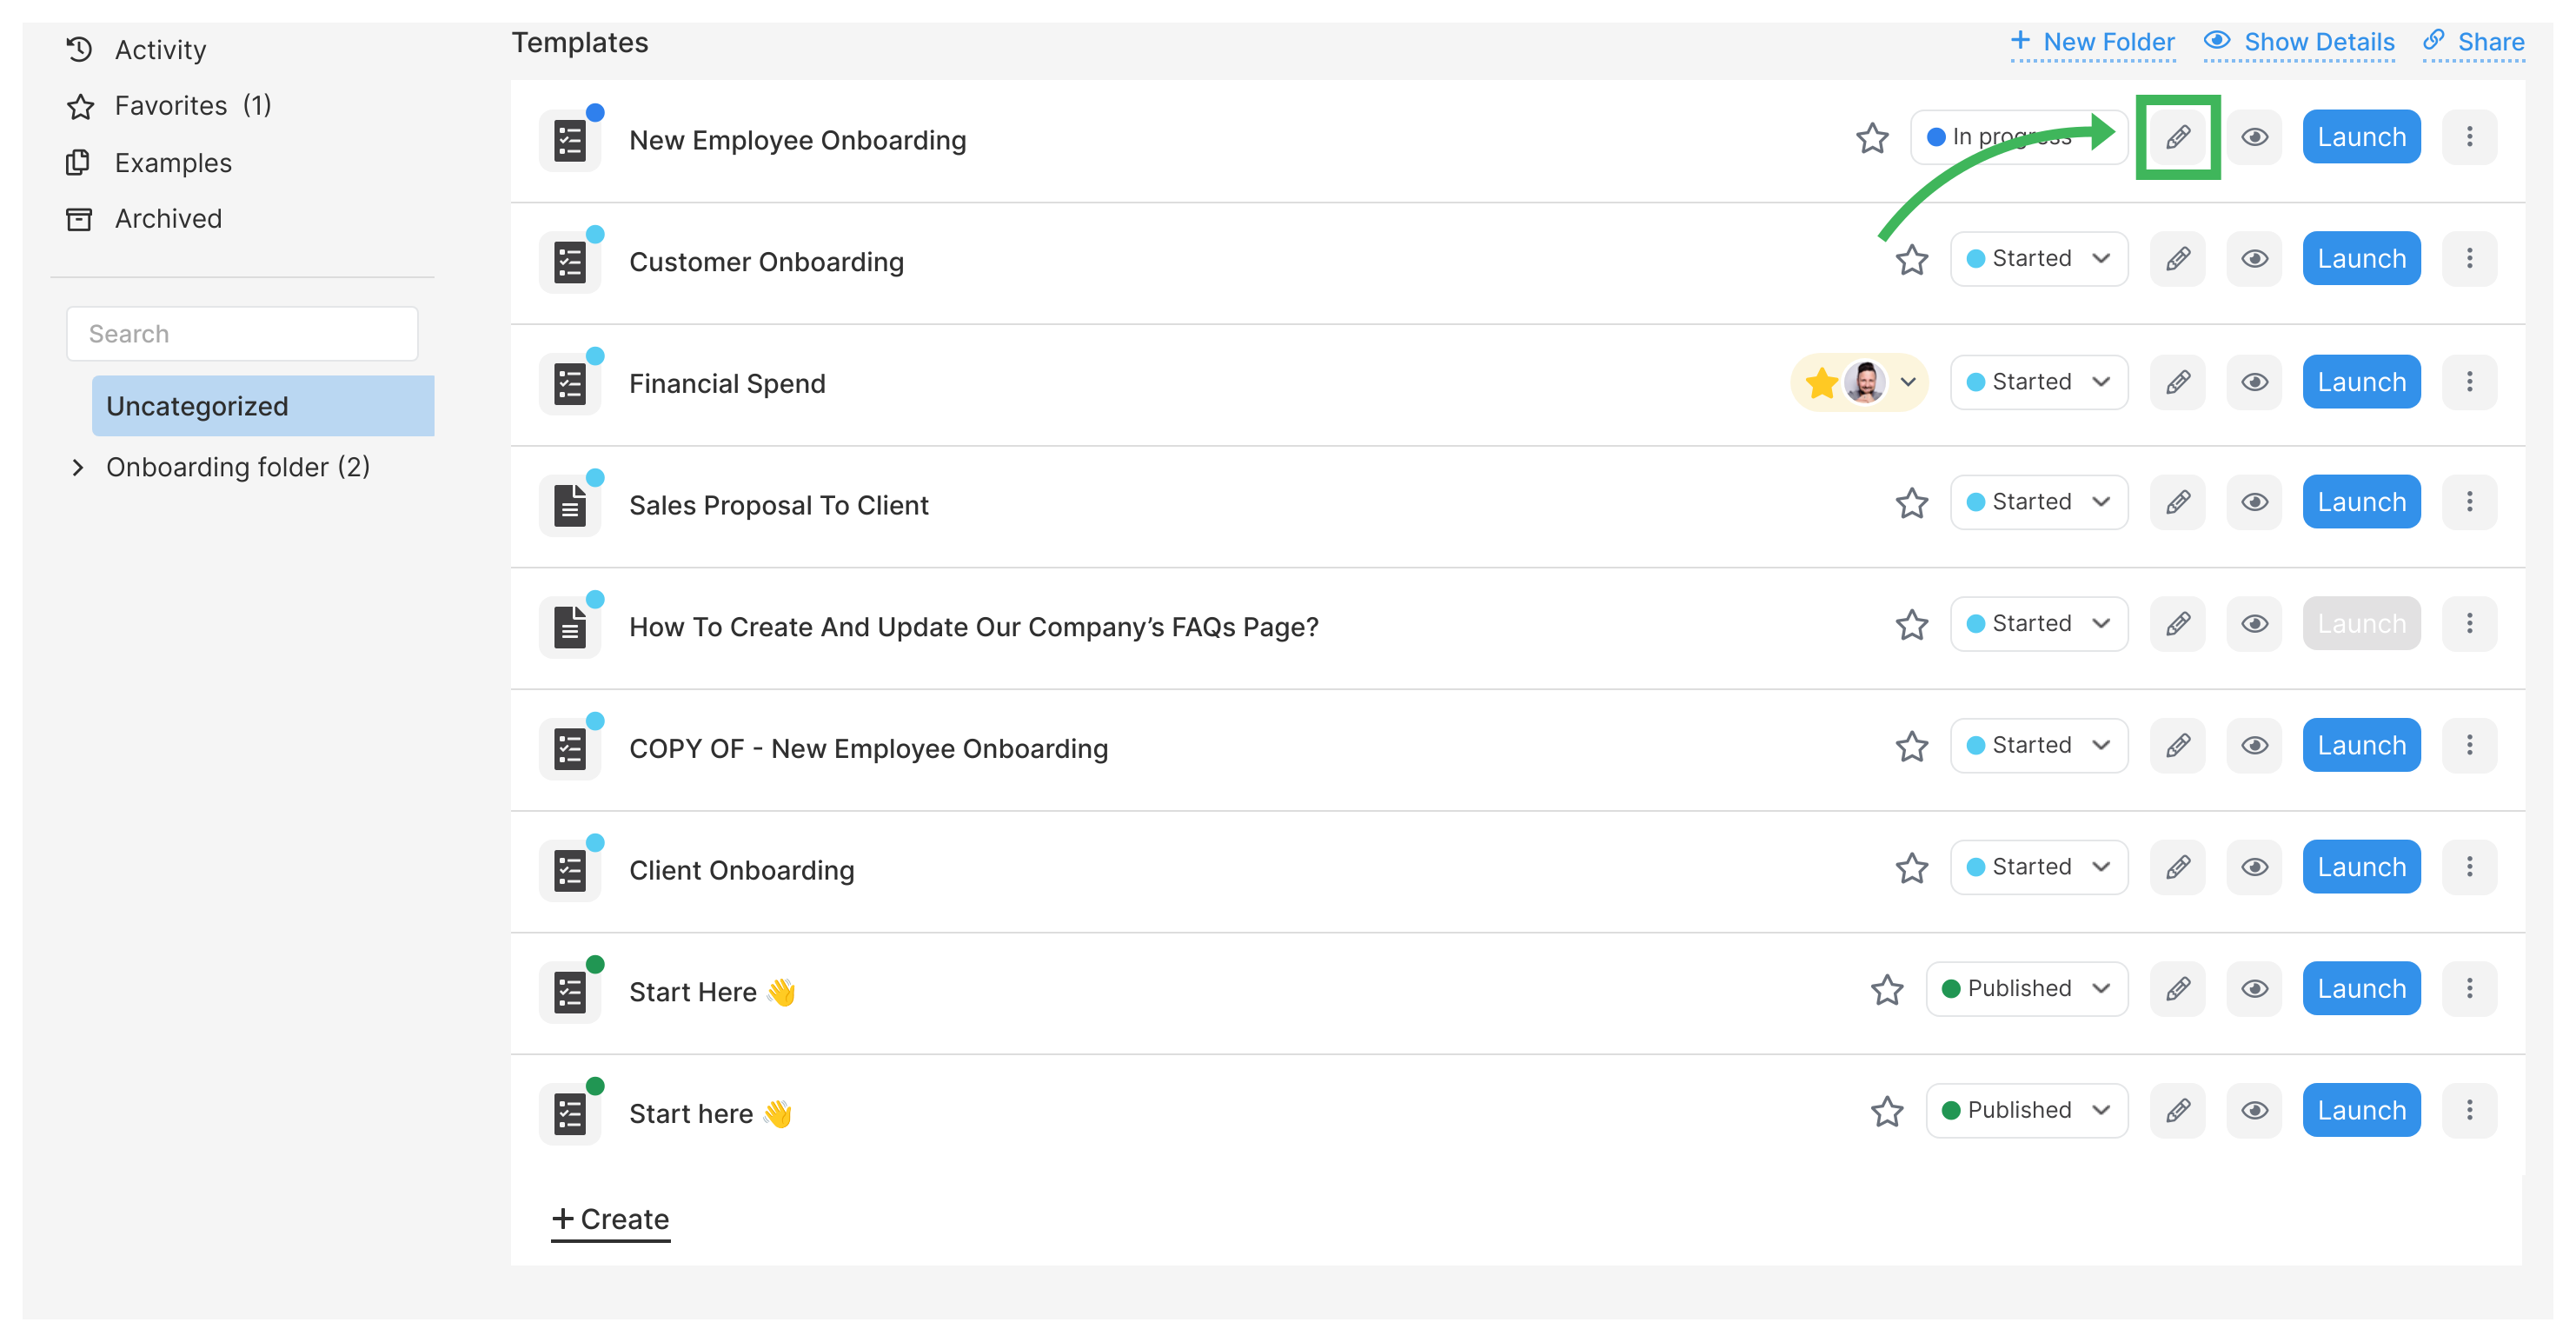
- Select the Launch button.

-
You’ll be prompted to fill any Kick-off form fields you have configured. This includes any information required to initiate the process, such as a client’s name and email. You can find more information about kick-off form fields here
-
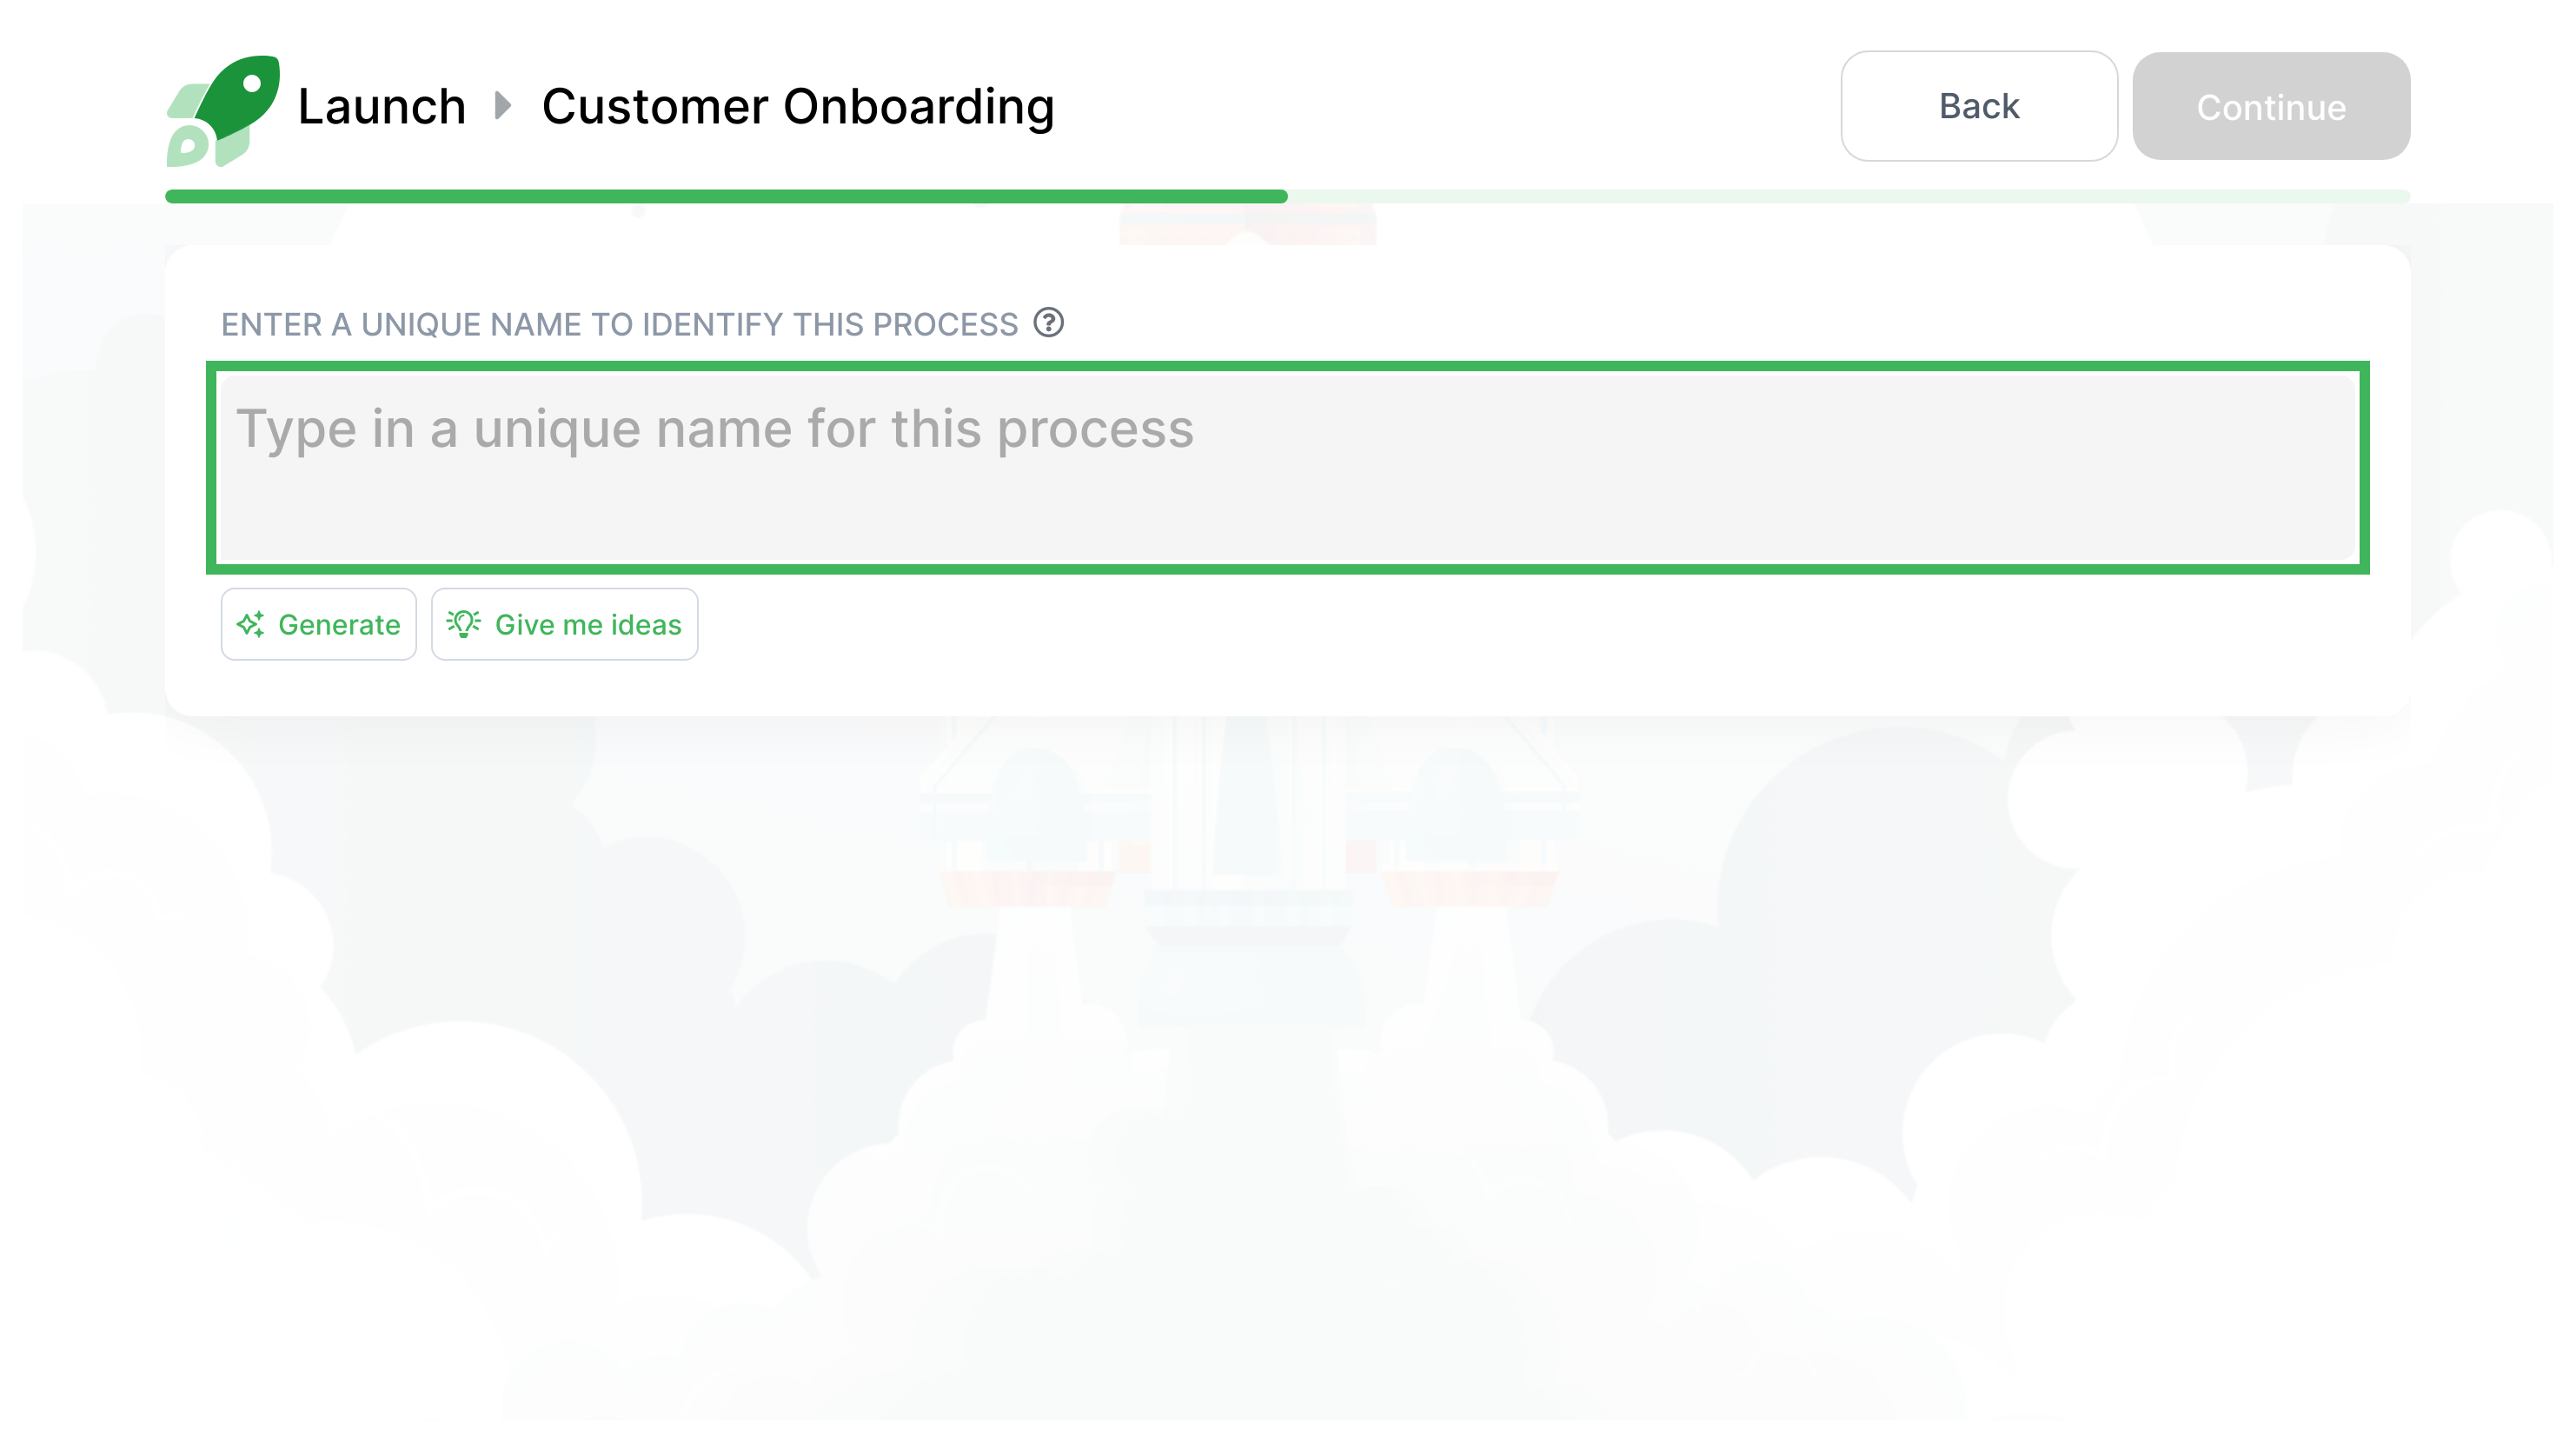
Now, it’s time to name your process. If you’re unsure, you can click the Generate button to automatically generate a name for your process. Alternatively, select Give me more ideas to see some recommended naming conventions for processes.
- Finally, you have the option to edit any step before launching your process. This includes assigning tasks, setting deadlines, or removing any unnecessary steps. If you need to edit multiple steps simultaneously, consider using Power Tools - which allows you to make changes in bulk. For more information, click here
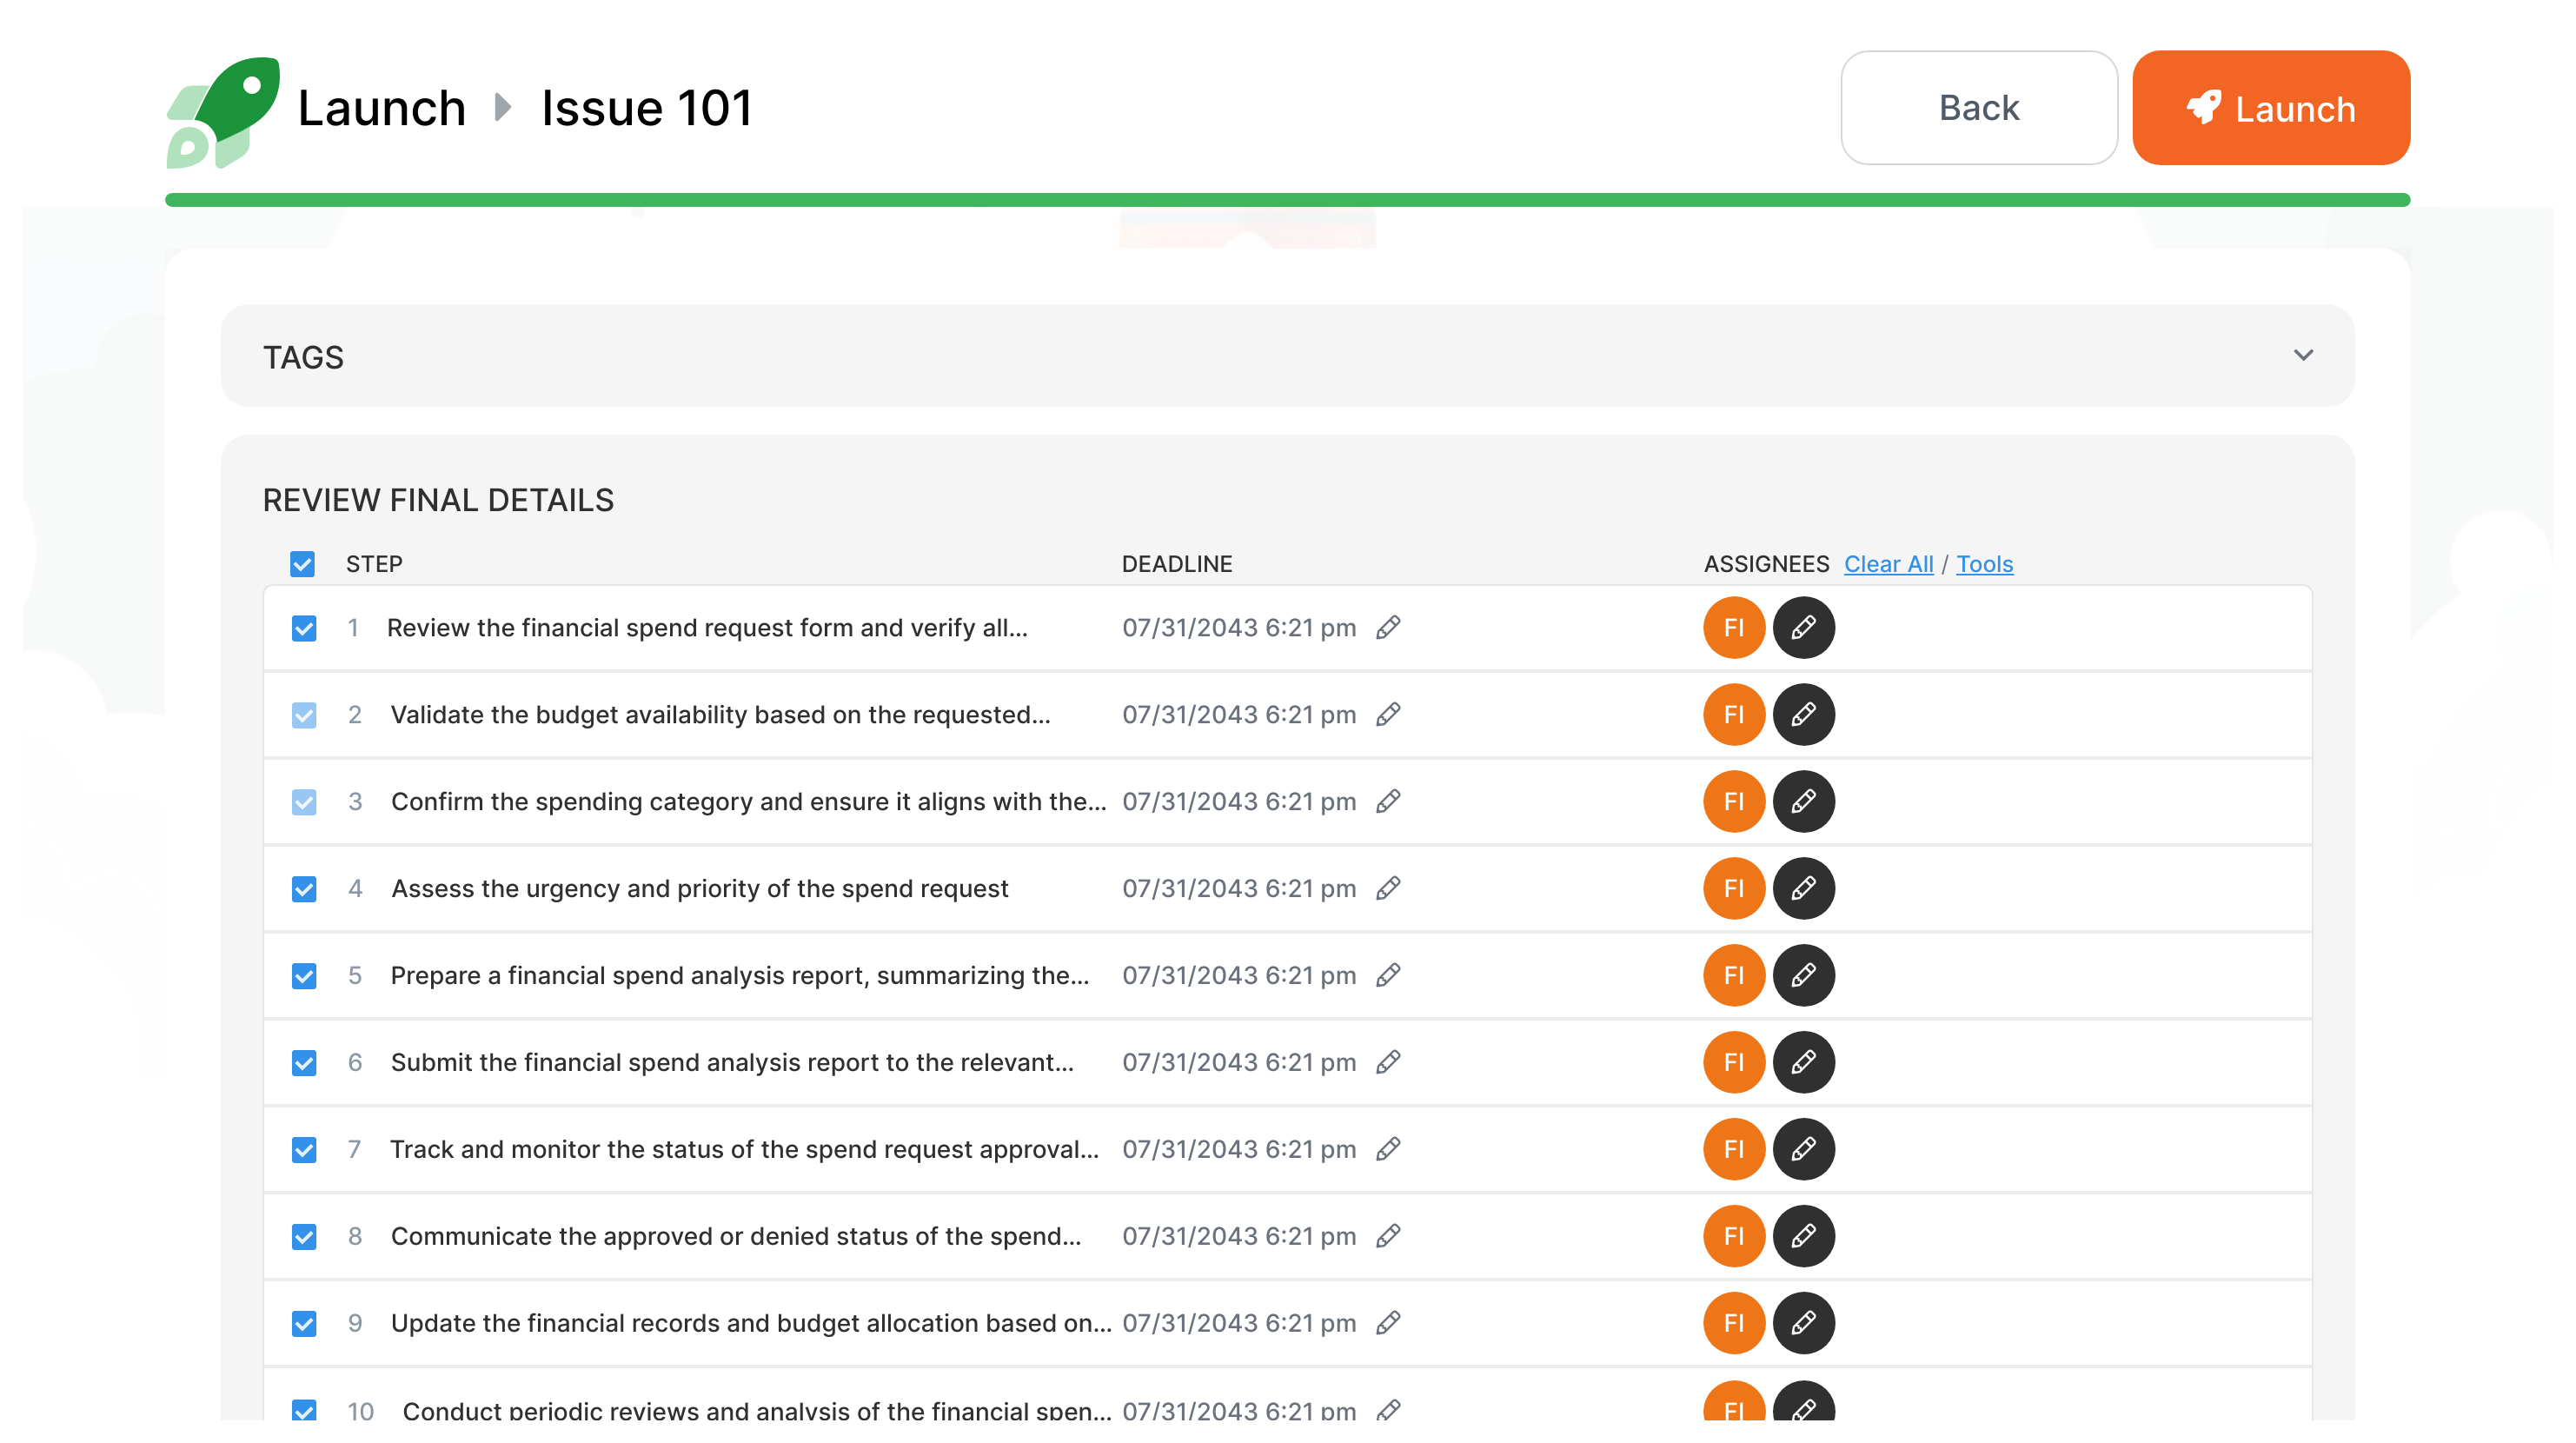
- That’s it! You have launched your first process. Each assignee will receive an email notification about the tasks they need to complete. You can track the progress of the process in the Tracker view. To learn more about the Tracker view, click here
![]()
Related articles
Launching > Launch manually
A step-by-step guide on how to manually launch a process in Tallyfy, including naming, assigning tasks, setting deadlines, and tracking progress.
Pro > Launching
Launching a process involves creating a unique instance of a template for a specific scenario, allowing multiple iterations to be run from the same template.
Launching > Launch another process when a task is completed
Automatically launching a new process when a task is completed in Tallyfy, with options to inject tasks into the existing process or create a separate linked child process.
Launching > Edit before launch
The content explains how to edit process details such as name, assignees, and deadlines before launching a process in Tallyfy.